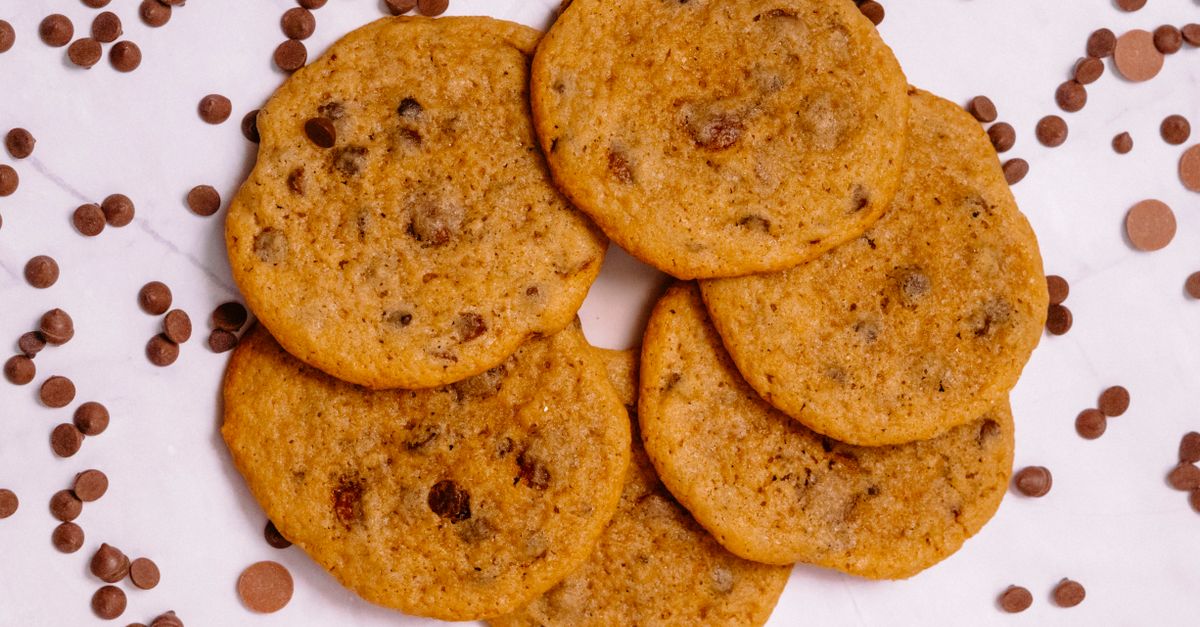
Why Your Homemade Cookies Are Flat, Not Puffy (And The Simple Shifts That Guarantee Bakery-Perfect Results Every Time)
There’s nothing quite like the disappointment of pulling a batch of cookies from the oven, anticipating those golden, puffed-up delights, only to find a tray of thin, crispy, and frankly, sad-looking discs. You followed the recipe to the letter, or so you thought, yet your cookies spread out like a pancake instead of rising into that satisfying, chewy bite you crave. I’ve been there more times than I care to admit. For years, my cookies were an exercise in frustration – sometimes they were perfect, other times they were a greasy, flat mess. It felt like a lottery.
But through countless baking experiments, a few culinary courses, and more than a little detective work, I’ve uncovered the core reasons why most homemade cookies go flat. It’s rarely one single culprit, but often a combination of subtle missteps that, once corrected, make all the difference. What changed everything for me wasn’t a secret ingredient or a fancy technique, but rather a deeper understanding of the science behind baking, coupled with some surprisingly simple shifts in my usual routine. If you’re tired of flat cookies, get ready to transform your baking. We’re not just going to fix a recipe; we’re going to build a foundation for consistently perfect, bakery-style cookies every single time.
Key Takeaways
- Ensure your butter is at a cool room temperature, not melted or too warm, for proper creaming and air incorporation.
- Measure flour by weight (using a kitchen scale) or use the ‘spoon and level’ method to avoid adding too much, which leads to dense, flat cookies.
- Chill your cookie dough for at least 30 minutes to firm up the fats and prevent premature spreading in the oven.
- Use parchment paper or silicone mats to prevent spreading and aid in even baking, avoiding greased pans.
The Overlooked Butter Temperature: It’s Not Just ‘Softened’
The biggest mistake I see home bakers make when it comes to butter is thinking ‘softened’ means warm or even slightly melted. In my experience, this is the number one reason cookies spread flat. When a recipe calls for softened butter, it’s looking for a specific consistency: butter that yields slightly to the touch when you press it, but still holds its shape. Think of it like this: if you can easily press your finger all the way through, it’s too warm. If it’s rock-hard, it’s too cold.
Why it matters: The creaming process – beating butter and sugar together – is crucial for incorporating air into your dough. This trapped air is what gives your cookies structure and helps them rise in the oven. If your butter is too warm, it can’t hold that air. Instead, it becomes greasy and collapses, leading to a dough that lacks internal structure. When this dough hits the heat of the oven, the butter melts too quickly, and with no air pockets to support it, the cookie spreads out into a thin puddle.
The game-changing shift: Aim for butter at a cool room temperature, around 65-67°F (18-19°C). I pull my butter from the fridge about an hour before I plan to bake, and if it’s a warm day, I might even pop it back in for 10-15 minutes if it feels too soft. If you forget to take it out, don’t microwave it! Instead, cut it into small pieces and let it sit for 15-20 minutes, or gently beat it with a rolling pin while it’s still cold to soften it slightly before creaming.
The Silent Killer: Inaccurate Flour Measurement
When I first started baking, I treated flour like any other ingredient, scooping it directly from the bag with my measuring cup. The result? Inconsistent cookies, often dense and flat. What I didn’t realize then was that flour is incredibly easy to over-measure, and excess flour is a silent killer for cookie texture.
Why it matters: Flour provides structure to your cookies. Too little, and they’ll be too delicate; too much, and they’ll be dry, tough, and ironically, can still contribute to flatness. When you scoop flour directly from the bag, you compact it significantly, adding up to 25% more flour than the recipe intended. This excess flour makes the dough stiffer, which sounds like it would prevent spreading, right? Wrong. A dense dough struggles to expand and puff up. It lacks the lightness needed to create those desirable air pockets, leading to a flatter, often tougher cookie.
The game-changing shift: Invest in a kitchen scale and measure your flour by weight. This is the most accurate method and completely eliminates inconsistency. If a recipe doesn’t provide weight measurements, a good rule of thumb is 120-125 grams per cup of all-purpose flour. If a scale isn’t an option, use the ‘spoon and level’ method: lightly spoon flour into your measuring cup until it’s overflowing, then use the back of a knife or a straight edge to level it off without compacting. This simple change drastically improved the consistency and texture of my cookies.
The Unsung Hero: Chilling Your Cookie Dough
This tip might sound like an extra, unnecessary step, especially when you’re eager to get those cookies in the oven. Trust me, I skipped this for years, always in a rush. But once I started consistently chilling my dough, my cookies were transformed from flat disappointments to perfectly puffed, chewy masterpieces. It’s an absolute game-changer, particularly if you’re struggling with overly flat cookies.
Why it matters: There are two main reasons chilling dough works wonders. First, it solidifies the fats in your butter. Cold butter takes longer to melt in the oven. This gives your cookie dough more time to set its structure before the butter fully liquefies and causes spreading. Second, chilling allows the flour to fully hydrate. This creates a more cohesive, less sticky dough that holds its shape better. It also develops flavor, making your cookies taste even richer.
The game-changing shift: Even 30 minutes in the fridge can make a noticeable difference. For optimal results, I aim for at least 1-2 hours, and often chill my dough overnight. Once chilled, you might need to let it sit at room temperature for 5-10 minutes to make it easier to scoop. The key is that the dough should be firm and cold when it hits the baking sheet. If you’re short on time, forming your cookie dough balls and then freezing them for 15-20 minutes can provide a similar benefit.
The Unsung Liner: Parchment Paper or Silicone Mats
For a long time, I just greased my baking sheets directly, thinking it was enough to prevent sticking. While it did prevent sticking, it inadvertently contributed to the dreaded cookie spread. Once I switched to baking with parchment paper or silicone mats, I noticed a dramatic improvement in cookie shape and texture.
Why it matters: A greased baking sheet, especially if using too much oil or butter, creates an overly slippery surface. When your cookie dough heats up, the fats begin to melt, and on a slippery surface, the dough has less friction to hold its shape. It simply slides outwards. Parchment paper and silicone mats, on the other hand, provide a surface with just enough grip to allow the cookies to expand upwards and outwards more controlled, resulting in a thicker, puffier cookie. They also promote more even heat distribution and prevent burnt bottoms.
The game-changing shift: Always line your baking sheets. I personally prefer parchment paper because it’s disposable and doesn’t require extra cleaning, but silicone baking mats are a fantastic reusable alternative. Whichever you choose, ensure it covers the entire surface of the baking sheet where your cookies will sit. This simple barrier will give your cookies the structural support they need to maintain their beautiful shape.
The Over-Baking Trap: Why Longer Isn’t Always Better
When I was a less confident baker, I used to err on the side of over-baking, worried about raw centers. My logic was, ‘a few extra minutes won’t hurt.’ What I learned is that those extra minutes can drastically alter the final texture and puffiness of your cookies.
Why it matters: Cookies continue to cook even after they’re removed from the oven, a phenomenon known as carry-over cooking. If you bake them until they look perfectly done in the oven, by the time they cool, they’ll be over-baked, often dry, and flat. Over-baking causes too much moisture to evaporate, leading to a hard, brittle texture that lacks the soft, chewy interior we associate with puffy cookies.
The game-changing shift: Learn to recognize the visual cues of a perfectly baked cookie. For most drop cookies, look for edges that are set and lightly golden, while the centers still look slightly soft, puffy, and perhaps a touch underbaked. They will firm up as they cool on the baking sheet. I usually take my cookies out when the edges are just barely golden, then let them rest on the hot baking sheet for 5-10 minutes before transferring them to a wire rack to cool completely. This resting period allows the carry-over cooking to finish setting the centers without over-baking the whole cookie, locking in that desirable puff and chew.
The Pan Temperature Peril: Reusing Hot Baking Sheets
This is a common oversight that can sabotage an otherwise perfect batch of cookies. You’ve got your dough chilled, your butter at the right temperature, but then you take a hot baking sheet right out of the oven, brush off the crumbs, and load it up with a new batch of dough. Big mistake.
Why it matters: Placing cold cookie dough on a hot baking sheet is like dropping butter into a scorching pan. The residual heat from the baking sheet immediately starts to melt the butter in your dough before it even has a chance to hit the oven. This premature melting causes the cookies to spread rapidly and flatten out before their structure can set, undoing all the good work of chilling your dough. It essentially gives your cookies a head start on melting, but in the worst possible way.
The game-changing shift: Always use cool or room-temperature baking sheets. If you’re baking multiple batches, you’ll need at least two, preferably three, baking sheets. While one batch bakes, the other can be cooling down and getting prepped with the next round of dough. If you only have one baking sheet, you absolutely must let it cool down completely before placing new dough on it. Running it under cold water (and drying thoroughly) can speed up the process if you’re in a pinch, but air-cooling is best. This simple habit ensures your cookies start baking from a consistent temperature, promoting even rising and preventing unnecessary spread.
Frequently Asked Questions
Q: My cookies are still flat even after chilling the dough. What else could it be?
A: If chilling doesn’t fully fix it, re-evaluate your butter’s temperature (it should be cool room temp, not warm) and your flour measurement (measure by weight or spoon and level). Also, ensure your leavening agents (baking soda/powder) aren’t expired. Over-greased baking sheets, even with parchment, or overcrowding the pan can also contribute to spreading.
Q: Can I use shortening instead of butter to prevent spreading?
A: Shortening has a higher melting point than butter, so it will definitely help prevent spreading and create a taller, cakier cookie. However, it lacks the rich flavor that butter provides. For the best of both worlds, some bakers use a combination of butter and shortening to get both flavor and structure.
Q: How do I know if my baking soda or baking powder is still good?
A: To test baking soda, put a teaspoon in a small bowl and add a few drops of vinegar or lemon juice. It should bubble vigorously. For baking powder, do the same but with hot water. If they don’t bubble, they’re expired and won’t properly leaven your cookies, which can lead to flatness.
Q: Does the type of sugar affect cookie spread?
A: Yes, it does! Granulated sugar contributes to crispness and spreading, while brown sugar adds moisture, chewiness, and helps retain a thicker shape due to its molasses content. A higher ratio of granulated sugar to brown sugar can lead to flatter, crispier cookies. Many recipes balance the two for optimal texture.
Q: My cookies are flat and greasy. What went wrong?
A: Flat and greasy cookies are a strong indicator that your butter was too warm, possibly even melted, when you started creaming it with the sugar. This prevents proper air incorporation and causes the butter to separate and spread too quickly in the oven. Ensure your butter is at a cool room temperature next time.
Conclusion
Baking perfect cookies consistently can feel like an elusive art, but it’s really a science of careful observation and precise execution. The journey from flat, disappointing discs to perfectly puffed, chewy, and bakery-worthy cookies doesn’t require a complete overhaul of your kitchen or a degree in pastry arts. It’s about understanding these common pitfalls – the subtle nuances of butter temperature, the precise measurement of flour, the patience of chilling dough, the right baking surface, and the art of knowing when to pull them from the oven. For me, embracing these five simple shifts transformed my baking from a guessing game into a reliable source of joy. Stop guessing and start baking with confidence. Your perfectly puffy, delicious cookies are just a few mindful steps away. Try implementing these changes in your next batch, and prepare to be amazed by the results!
Written by Sarah Jenkins
Home budgeting and frugal living
A former community organizer, Sarah brings a knack for finding resourceful solutions to common household challenges.
You Might Also Like

Why Your DIY Furniture Makeover Chips and Peels (And How to Get a Lasting, Pro Finish)
Stop chipping and peeling! Discover the overlooked mistakes in DIY furniture makeovers and pro techniques for a durable, flawless finish that lasts.

Why Your Homemade Cookies Are Flat, Not Puffy (And The Pro Secrets That Guarantee Bakery-Perfect Results Every Time)
Ever wonder why your homemade cookies spread flat instead of staying puffy? Discover the pro secrets to achieve bakery-perfect results.
Why Your Homemade Cookies Are Flat, Not Puffy (And The Pro Secrets That Guarantee Bakery-Perfect Results Every Time)
Tired of flat cookies? Discover the overlooked mistakes in your baking and the pro secrets for perfectly puffy, chewy cookies every time.