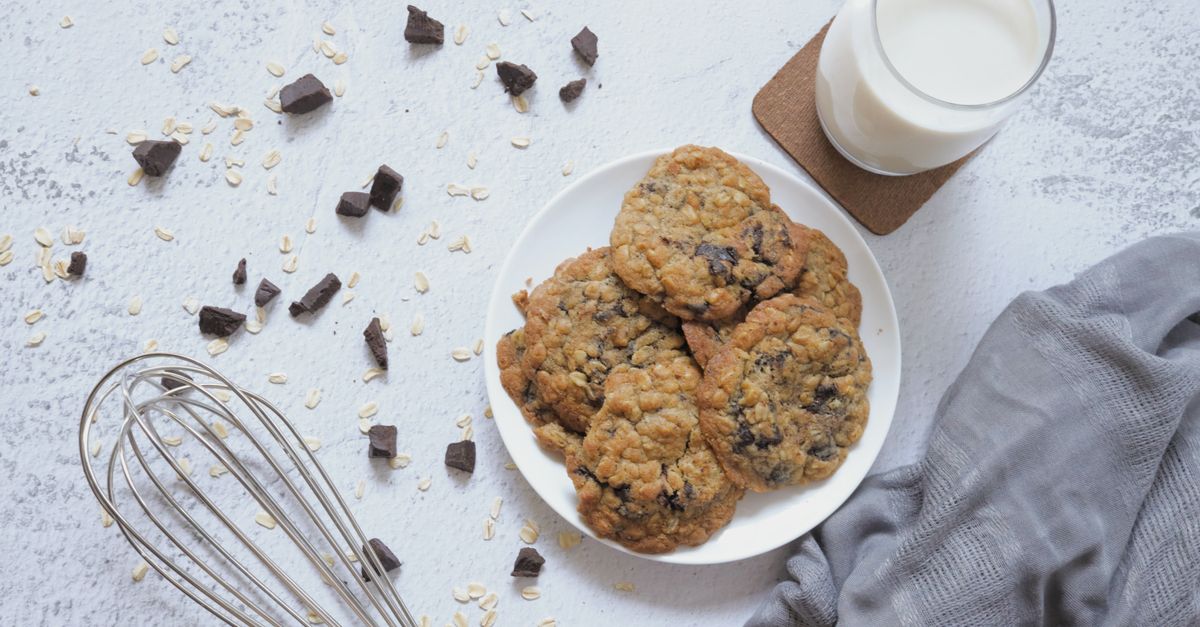
Why Your Homemade Cookies Are Flat (And The Simple Fixes That Guarantee Perfect, Puffy Results Every Time)
Every baker, whether seasoned or novice, has faced the heartbreak of cookies that spread into thin, sad pancakes instead of holding their glorious, plump shape. I’ve been there more times than I care to admit. You meticulously measure, mix, and chill, only to pull a tray of greasy, brittle discs from the oven. It’s frustrating, especially when you’re craving that perfect, chewy-in-the-middle, slightly-crisp-on-the-edges cookie. I used to blame my oven, my recipe, or even the weather. But through years of trial and error (and a lot of flat cookies), I’ve discovered that the problem rarely lies in a single ingredient or step. Instead, it’s a delicate dance of temperature, technique, and ingredient ratios that, when understood, can transform your baking from inconsistent to effortlessly perfect.
This isn’t just about tweaking a recipe; it’s about understanding the science behind the spread. Forget the vague advice; we’re going to dive into the specific, often overlooked mistakes that cause cookies to flatten and, more importantly, the actionable, sometimes counter-intuitive, fixes that guarantee bakery-worthy results every single time. What changed everything for me wasn’t just following a recipe, but knowing why each step mattered.
Key Takeaways
- Ensure your butter is truly at room temperature, not melted, to maintain structure and prevent excessive spreading.
- Chill your cookie dough for at least 30 minutes, or up to 24 hours, to solidify fats and develop flavors for minimal spread.
- Correctly measure your flour by weighing it or using the spoon-and-level method to avoid adding too little, which causes flatness.
- Avoid overcrowding your baking sheets and ensure your oven temperature is accurate to promote even baking and prevent premature collapse.
The Butter Paradox: Room Temperature Doesn’t Mean Melted
One of the most common culprits for flat cookies is often the first ingredient you touch: butter. Most recipes call for “room temperature” butter, and this is where many home bakers (including my past self) go wrong. “Room temperature” does not mean soft to the point of being greasy, nor does it mean partially melted. It means cool enough to hold its shape, but warm enough to indent easily when pressed. Think 67-70°F (19-21°C).
The mistake I see most often is using butter that’s too warm. When butter is too soft, it struggles to cream properly with sugar, leading to less air being incorporated into the dough. This trapped air is crucial for a cookie’s rise and texture. Even worse, if your butter is even slightly melted, it starts to lose its emulsion, separating into fat and water. When this unstable butter hits the oven, it melts too quickly, releasing its moisture and causing the cookie to spread out before it has a chance to set.
The Fix: Plan ahead. Take your butter out of the fridge at least an hour, sometimes two, before you start baking. If you’re in a pinch, cut the butter into small cubes and let it sit for 15-20 minutes, or gently warm it by placing it next to a warm (but not hot) oven. Crucially, if you can easily push your finger all the way through the stick without resistance, it’s too warm. Pop it back in the fridge for 5-10 minutes. When you cream it with sugar, it should lighten in color and become fluffy, not just combine into a slick paste. This airy, creamy mixture is the foundation of a perfectly puffy cookie.
The Chilling Conundrum: Why Patience Pays Off
I know, I know. You want cookies now. But if you’re battling flat cookies, chilling your dough isn’t just a suggestion; it’s practically a command. This was a game-changer for me. For years, I’d skip this step, eager to get my cookies in the oven. The results were predictably disappointing.
When you chill cookie dough, several magical things happen. First, and most importantly, the fats in the butter firm up. This solid structure resists immediate spreading in the hot oven, giving the flour and other ingredients time to set around it. Second, the flour hydrates. This means the flour absorbs more moisture from the butter and eggs, strengthening the gluten network. A stronger structure means less collapse. Third, chilling allows the flavors to meld and deepen. Sugars start to break down slightly, intensifying sweetness and creating more complex notes. You’re not just preventing flatness; you’re developing a richer, more nuanced cookie.
The Fix: Aim for at least 30 minutes of chilling, but ideally, go for 2-4 hours. In my experience, the sweet spot for many recipes is an overnight chill (8-24 hours). I often make my dough the night before, scoop it onto baking sheets, and then transfer the scooped dough balls to an airtight container in the fridge. This way, they’re ready to bake straight from the cold. If a recipe calls for chilling, don’t skimp. If it doesn’t, and you’re having flatness issues, try it anyway. You’ll be amazed at the difference in both texture and flavor.
The Flour Fiasco: Measuring Matters More Than You Think
Flour is the backbone of your cookie. Too little, and your cookies will spread uncontrollably because there isn’t enough dry structure to hold the fat and liquid. Too much, and they’ll be dense and dry. The problem is, most home bakers measure flour incorrectly, leading to unintentional under-flouring.
Many people scoop flour directly from the bag with their measuring cup. This compresses the flour, often adding 20-30% more than what’s actually called for. Conversely, if you’re using a light hand, you might be accidentally using too little. Both scenarios are problematic, but too little flour is a direct path to flatness.
The Fix: Invest in a kitchen scale. This is the single most accurate way to measure flour (and all other dry ingredients). Most recipes, especially those from professional bakers, provide gram measurements for a reason. If a recipe doesn’t, 1 cup of all-purpose flour typically weighs around 120-125 grams. Once I started weighing my flour, my baking consistency went through the roof.
If a scale isn’t an option, use the spoon-and-level method. Fluff up the flour in its container with a spoon. Then, gently spoon the flour into your measuring cup until it’s overflowing. Finally, use the flat edge of a knife or a straight spatula to level off the excess flour, sweeping it back into the bag. Do not pack it down, and do not tap the cup against the counter. This method helps ensure you’re using the correct amount of flour without over-packing.
The Oven’s Deception: Temperature and Overcrowding
Even with perfectly mixed and chilled dough, your cookies can still fall flat if your oven isn’t doing its job. A common misconception is that if the oven dial says 350°F, that’s what it is. Unfortunately, most home ovens are notorious for temperature fluctuations and inaccuracies. If your oven is running too cool, your cookies will spread more before they have a chance to set. If it’s too hot, the outside might set too quickly, but the inside won’t cook evenly, leading to collapse.
Another silent killer of cookie structure is overcrowding the baking sheet. Placing too many cookies on a single sheet restricts air circulation around each cookie. More importantly, it lowers the overall temperature of the baking sheet and the oven cavity as the dough tries to heat up. This can mimic a too-cool oven, resulting in excessive spreading.
The Fix: Buy an inexpensive oven thermometer. Place it in the center of your oven and check the reading after preheating for at least 20 minutes. Adjust your oven dial accordingly. For example, if your oven thermometer reads 325°F when the dial is set to 350°F, then you know to set your dial to 375°F to achieve the desired temperature. Calibrate your oven if necessary, or simply adjust the temperature manually for each bake.
Secondly, never overcrowd your baking sheets. Leave at least 2 inches between each cookie dough ball. I typically bake no more than 6-9 cookies per standard half-sheet pan, even if I could technically squeeze more on. This allows for proper heat circulation, ensuring each cookie bakes evenly and sets properly. If you have multiple baking sheets, bake them one at a time on the middle rack for best results. If you must bake two sheets at once, rotate them halfway through and ensure there’s enough space for air to move. What truly revolutionized my cookie game was understanding that a well-regulated oven and ample space are just as important as the ingredients themselves.
The Leavening Lesson: Don’t Underestimate Their Power (or Age)
Leavening agents like baking soda and baking powder are the unsung heroes of puffy cookies. Baking soda reacts with acidic ingredients (like brown sugar, buttermilk, or lemon juice) to produce carbon dioxide gas, which creates lift. Baking powder, on the other hand, is usually double-acting, meaning it reacts once with liquid and again with heat, providing two bursts of lift. Both are crucial for that beautiful rise.
The mistake here is often using expired or inactive leavening agents. Baking soda and powder lose their potency over time. If they’re not fresh, they simply won’t produce enough gas, and your cookies will have no choice but to fall flat.
The Fix: Check the freshness of your leavening agents. For baking soda, place a teaspoon in a small bowl and pour a few tablespoons of vinegar over it. If it fizzes vigorously, it’s good. For baking powder, do the same with hot water. Again, vigorous fizzing means it’s active. If there’s little to no reaction, it’s time to replace them. I make it a habit to replace mine every 6 months, or whenever I notice my baked goods aren’t rising as they should. Store them in airtight containers in a cool, dark place to prolong their shelf life.
The Sugar Saga: Ratio and Type Matter
Sugar does more than just sweeten; it plays a critical role in texture and spread. Different types of sugar behave differently in cookie dough. Granulated sugar tends to promote more spread and crispness, while brown sugar (which contains molasses) adds moisture, chewiness, and helps retain shape.
The mistake is often an incorrect sugar ratio or even swapping sugar types without understanding the impact. If your recipe has too much granulated sugar relative to the fat and flour, it can contribute to excessive spreading, as granulated sugar melts faster than brown sugar and doesn’t offer as much structure. Additionally, if you’re using too little sugar overall, it can also lead to a lack of structure or a tough texture.
The Fix: Stick to the recipe’s specified sugar types and ratios. If you’re adapting a recipe or creating your own, remember that brown sugar contributes to a chewier, thicker cookie, while granulated sugar contributes to a crispier, thinner one. For a puffier, chewier cookie, I often lean slightly more on brown sugar. For example, in a classic chocolate chip cookie, a 50/50 ratio of brown to granulated sugar or even slightly more brown sugar often yields fantastic results. Always measure your sugars accurately – again, a kitchen scale is your best friend here – to ensure the correct balance. What I learned is that sugar isn’t just a sweetener; it’s a structural component, and getting its balance right is crucial for the perfect cookie.
Frequently Asked Questions
Q: My cookie dough is too soft, even after chilling. What should I do?
A: If your dough is still too soft after chilling, it might indicate too much butter or not enough flour, or that your butter was too warm to begin with. Try adding a tablespoon or two of extra flour (weighed, if possible) and re-chilling for another 30-60 minutes. If you’re baking in a warm environment, consider chilling your scooped dough balls on the baking sheet for 10-15 minutes right before baking.
Q: Can I use softened butter from the microwave if I’m in a hurry?
A: Absolutely not. Microwaving butter, even for a few seconds, often melts it unevenly and breaks its emulsion. This will almost certainly lead to flat, greasy cookies. It’s better to cut cold butter into small pieces and let it sit for 15-20 minutes, or gently grate it, to speed up the softening process to the correct room temperature.
Q: Why do my cookies sometimes spread more on one side of the oven than the other?
A: This is a classic sign of uneven oven temperature or hot spots. An oven thermometer will help confirm this. Rotate your baking sheets halfway through the baking time to ensure even cooking. If the problem persists, consider baking one sheet at a time or even getting your oven professionally calibrated.
Q: Does the type of baking sheet I use affect cookie spread?
A: Yes, it absolutely does. Dark-colored baking sheets absorb more heat and can cause cookies to spread and brown faster on the bottom. Light-colored, heavy-gauge aluminum baking sheets (often referred to as half-sheet pans) are ideal as they conduct heat more evenly. Also, ensure your baking sheets are cool before placing new dough on them; a warm sheet will start to melt the butter before the cookies even hit the oven.
Q: My cookies are still flat, even after trying all these tips. What else could it be?
A: If you’ve addressed all the common issues, consider the specific recipe. Some recipes are designed to produce flatter, crispier cookies due to their ingredient ratios (e.g., higher fat or sugar, lower flour). Also, humidity can play a small role, as can altitude (though less common for home bakers). If all else fails, try a different, highly-rated recipe specifically known for producing thick, chewy cookies.
Conclusion: The Path to Puffy Perfection
Achieving perfectly puffy cookies might seem like an elusive art, but it’s truly a science. By understanding the critical roles that butter temperature, chilling time, accurate flour measurement, oven calibration, and fresh leavening agents play, you’re not just fixing a problem – you’re mastering the craft. I’ve been through the heartbreak of flat cookies many times, and these specific adjustments transformed my baking. What changed everything for me was moving beyond just following the steps and truly understanding why each step was there. So next time you bake, arm yourself with these insights, pay attention to the details, and prepare to pull out a batch of glorious, perfectly puffy cookies that will make you proud. Your journey to cookie perfection starts now, one perfectly plump cookie at a time.
Written by Sarah Jenkins
Home budgeting and frugal living
A former community organizer, Sarah brings a knack for finding resourceful solutions to common household challenges.
You Might Also Like

Why Your DIY Furniture Makeover Chips and Peels (And How to Get a Lasting, Pro Finish)
Stop chipping and peeling! Discover the overlooked mistakes in DIY furniture makeovers and pro techniques for a durable, flawless finish that lasts.

Why Your Homemade Cookies Are Flat, Not Puffy (And The Pro Secrets That Guarantee Bakery-Perfect Results Every Time)
Ever wonder why your homemade cookies spread flat instead of staying puffy? Discover the pro secrets to achieve bakery-perfect results.
Why Your Homemade Cookies Are Flat, Not Puffy (And The Pro Secrets That Guarantee Bakery-Perfect Results Every Time)
Tired of flat cookies? Discover the overlooked mistakes in your baking and the pro secrets for perfectly puffy, chewy cookies every time.