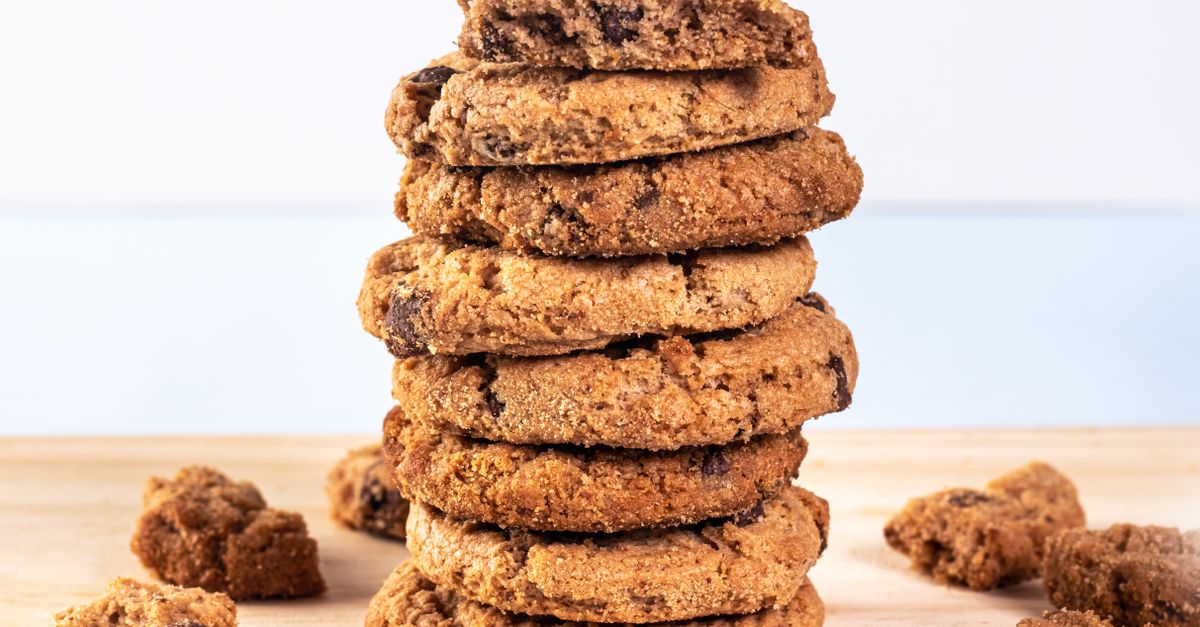
Why Your Homemade Cookies Are Dry and Crumbly (And The Simple Shifts That Guarantee Chewy Perfection Every Time)
Have you ever meticulously followed a cookie recipe, only to pull a batch of dry, crumbly pucks from the oven? You had visions of warm, gooey centers and slightly crisp edges, but instead, you ended up with something that feels more like a stale biscuit than a beloved chocolate chip cookie. It’s a frustrating experience that most home bakers face at some point, and it often leads to abandoning homemade treats for store-bought convenience. But what if I told you the problem isn’t your baking ability, but rather a few common, easily fixable mistakes? In my years of experimenting with countless cookie recipes and perfecting my own, I’ve seen firsthand how tiny tweaks can transform a crumbly disaster into a chewy masterpiece.
Most cookie recipes promise perfection, but they often leave out the crucial nuances that separate a good cookie from an unforgettable one. The culprit behind dry, crumbly cookies is almost always a combination of factors related to ingredient ratios, mixing technique, and baking time. It’s not just about what you put in, but how you handle it. Once I understood these underlying principles, my cookies went from hit-or-miss to consistently chewy and delicious. You don’t need fancy equipment or a culinary degree; just a bit of insight into the science of baking.
Key Takeaways
- Too much flour or too little fat/liquid is the primary cause of dry, crumbly cookies.
- Overmixing develops gluten, leading to a tough, dry texture instead of chewiness.
- Precise butter temperature is critical: too cold or too warm drastically affects cookie structure.
- Baking cookies at too high a temperature or for too long strips them of essential moisture.
The Flour Fallacy: Why Too Much Flour is Cookie Kryptonite
When I first started baking, I treated flour measurements like gospel, scooping directly from the bag with a measuring cup. Big mistake. The single most common reason for dry, crumbly cookies is too much flour. Flour absorbs moisture, and an excess amount will quickly suck the life out of your dough, leaving you with dense, dry results. A cup of flour scooped directly from the bag can weigh significantly more than a cup that has been lightly spooned into the measuring cup and leveled.
What changed everything for me was investing in a digital kitchen scale. This is not an exaggeration. For just about $20, it revolutionized my baking. Most professional bakers (and savvy home bakers like myself) measure dry ingredients, especially flour, by weight. A standard cup of all-purpose flour weighs approximately 120-125 grams. If your recipe calls for 2 ½ cups of flour, that’s 300-312.5 grams. If you’re scooping and packing, you could easily be adding an extra ¼ to ½ cup of flour without realizing it. This excess flour significantly alters the fat-to-flour ratio, robbing your cookies of moisture and tenderness.
Beyond weight, the type of flour also matters. All-purpose flour is standard, but some recipes might call for cake flour (lower protein, for tenderness) or bread flour (higher protein, for chewiness). Stick to the recipe’s specified flour type, and if you must substitute, understand how the protein content will impact the final texture. For consistently chewy cookies, always measure flour by weight if possible. If you don’t have a scale, gently spoon the flour into your measuring cup and level it off with a straight edge, rather than scooping directly from the bag.
The Overmixing Offense: Why Less is More for Tender Dough
When you mix flour with liquid, you develop gluten, the protein network that gives baked goods structure. For bread, gluten development is desirable; for cookies, it’s often the enemy of chewiness. Overmixing cookie dough is another major culprit behind a dry, tough, and crumbly texture.
I used to think mixing until everything was perfectly smooth and uniform was the goal. Nope. As soon as you add the flour, stop mixing once the ingredients are just combined. You’re aiming for a point where there are still a few streaks of flour visible. The remaining flour will hydrate as the dough rests, without overworking the gluten.
Here’s why it matters: The more you mix after adding flour, the more gluten develops. Stronger gluten strands mean a tougher, less tender cookie that lacks that delightful chew. Think of it like kneading bread dough – you want to develop gluten for structure. With cookies, we want just enough structure to hold together, but not so much that it becomes rigid and dry. This is especially true for butter-based cookies where a delicate balance is key. What changed for me was learning to use a light hand and recognizing the visual cues. As soon as the dry ingredients disappear, turn off the mixer or put down the spoon. Your cookies will thank you with a tender, melt-in-your-mouth quality.
The Butter Battle: Temperature and Fat Content Are Non-Negotiable
Butter is the foundation of most delicious cookies, and its temperature and fat content play an outsized role in the final texture. This is a nuance many recipes gloss over, but it’s absolutely critical for preventing dry, crumbly results.
Many recipes call for “softened butter,” but what does that actually mean? If your butter is too cold, it won’t cream properly with the sugar, leading to a dough that’s difficult to mix and cookies that bake up dense. If your butter is too warm (even slightly melted), it won’t incorporate air when creamed, resulting in flat, greasy cookies. The ideal temperature for softened butter is around 65-67°F (18-19°C) – it should yield slightly when pressed, but not be greasy or shiny. I’ve found that leaving butter out on the counter for 30-60 minutes, depending on room temperature, usually gets it just right. If you’re in a hurry, you can cut it into smaller pieces to speed up the process, but resist microwaving, which can melt the edges unevenly.
Furthermore, the fat content of your butter can make a difference. European-style butters often have a higher butterfat percentage (typically 82-84%) compared to American-style butters (79-80%). While it might seem like a small difference, that extra fat contributes to richness, tenderness, and chewiness. When I started experimenting with higher-fat butter for special batches, the difference in chewiness was noticeable. If your cookies are consistently dry and you’re already measuring flour by weight, consider upgrading your butter.
The Baking Blunder: Too Hot or Too Long, Your Cookies Will Suffer
It’s a common rookie mistake to think a higher temperature or longer baking time will just make cookies cook faster. In reality, baking cookies at too high a temperature or for too long is a guaranteed way to dry them out and make them crumbly. Heat extracts moisture, and excess heat or time will strip your cookies of the very thing that makes them chewy and moist.
Every oven is different, and oven temperatures can fluctuate wildly. My old oven ran 25 degrees hot, which I only discovered after buying an oven thermometer. This simple gadget, costing less than $10, was a game-changer. What I thought was 350°F was actually 375°F, causing my cookies to brown too quickly on the outside while drying out on the inside. Always preheat your oven thoroughly (at least 15-20 minutes after it signals it’s reached temperature) and verify with a thermometer.
As for baking time, trust your eyes, not just the timer. Most cookie recipes provide a time range, e.g., “bake for 9-12 minutes.” Always err on the side of caution. Cookies are often done when the edges are set and lightly golden, but the centers still look slightly soft or even underbaked. They will continue to cook and set as they cool on the hot baking sheet. Pulling them out when they look just set, even if it feels a little too early, is the secret to a chewy center. For my chocolate chip cookies, I look for a very light golden edge and a pale, almost still-wet center. After 5 minutes on the baking sheet and then transferred to a wire rack, they firm up beautifully, retaining that coveted chewiness. Overbaking by even two minutes can turn a perfect cookie into a dry crumb.
The Sugar Science: Not Just for Sweetness, But for Structure
Sugar in cookies isn’t just about sweetness; it’s a critical component for texture and moisture retention. The type and ratio of sugar significantly impact how chewy or dry your cookies turn out. This is a point many home bakers overlook, assuming all sugar is created equal. What I learned through trial and error is that the balance of granulated sugar to brown sugar is paramount for chewiness.
Granulated sugar contributes to crispness and spread, while brown sugar, with its molasses content, adds moisture, chewiness, and a richer flavor. Molasses is hygroscopic, meaning it attracts and holds onto water, which helps keep cookies soft and moist. If your recipe leans too heavily on granulated sugar, your cookies are more likely to be dry and crumbly. For truly chewy cookies, I often adjust recipes to have a higher proportion of brown sugar (dark brown sugar for maximum chew) or at least an equal ratio to granulated sugar.
Consider this: a cookie with 1 cup granulated sugar and ½ cup brown sugar will likely be crisper than one with ½ cup granulated sugar and 1 cup brown sugar, even if the total sugar amount is the same. The molasses in brown sugar also contributes to a slightly acidic environment, which can tenderize gluten and promote spread, further enhancing chewiness. Don’t be afraid to experiment with adjusting your sugar ratios, keeping the total sugar volume consistent, to find your perfect balance of chew and flavor. This simple shift has transformed many of my favorite cookie recipes into bakery-quality treats.
Frequently Asked Questions
Q: My cookies are always flat and dry, not just crumbly. What’s going on?
A: Flatness often stems from butter that’s too warm, too little flour (or flour measured improperly leading to less actual flour), or insufficient chilling time. When your butter is too soft or melted, it creams poorly and the fat spreads too quickly in the oven. Combine this with too little flour, and your cookies will spread thin and cook out all their moisture, leading to a dry, crispy (rather than chewy) result. Make sure your butter is truly softened, not melted, and always measure flour by weight if possible. Chilling the dough helps solidify the butter, preventing excessive spread.
Q: Can I use oil instead of butter to prevent dry cookies?
A: While oil can add moisture, it changes the cookie’s texture significantly. Oil spreads more readily than butter and doesn’t incorporate air during creaming, leading to denser, often greasier cookies that lack the structural integrity and rich flavor that butter provides. If you’re looking for chewiness, stick to butter and focus on proper butter temperature and flour measurement. Substituting oil is a different baking science entirely.
Q: How do I know if I’ve overmixed the dough?
A: The key is visual. Once you add the dry ingredients, mix on low speed just until the flour streaks almost disappear. There should still be a few visible wisps of flour. If you mix until the dough is completely smooth and uniform, you’ve likely overmixed. The dough will also feel tougher and more elastic than it should. Stop mixing early, and let the remaining flour hydrate during a brief resting period.
Q: My recipe calls for baking powder AND baking soda. Does this affect chewiness?
A: Yes, leavening agents play a role! Baking soda (sodium bicarbonate) reacts with acidic ingredients (like brown sugar or buttermilk) to create carbon dioxide, contributing to spread and browning, which can enhance chewiness. Baking powder (a mix of baking soda, an acid, and cornstarch) provides lift and puffiness. An imbalance, especially too much baking powder or baking soda for the amount of acid, can lead to a slightly crumbly texture. Stick to the recipe’s leavening, but know that brown sugar’s acidity is your friend for chewiness.
Q: Is chilling cookie dough really necessary for chewy cookies?
A: While not always strictly necessary to prevent dryness, chilling dough significantly improves cookie texture, flavor, and chewiness. Chilling allows the flour to fully hydrate, the flavors to meld, and the butter to firm up. This prevents excessive spread in the oven, leading to a thicker cookie with a more developed flavor and a chewier texture. Even 30 minutes in the fridge can make a noticeable difference, while longer chills (up to 24-48 hours) can lead to truly exceptional results.
Conclusion
Turning out a batch of perfect, chewy homemade cookies isn’t a dark art; it’s a science refined by attention to detail. The journey from dry and crumbly to deliciously tender starts with a few deliberate shifts: accurate flour measurement, gentle mixing, precise butter temperature, and careful baking. I’ve wasted countless batches learning these lessons, but now, I rarely miss the mark. These aren’t just tips; they are the fundamental pillars that transformed my cookie baking from an exercise in frustration to a consistent source of joy.
Don’t let past failures deter you. Armed with these insights, you’re ready to tackle your next batch with confidence. Grab your ingredients, set that oven thermometer, and get ready to experience the satisfying chewiness you’ve always dreamed of. The next time you’re craving that perfect, comforting cookie, remember these simple shifts, and you’ll be well on your way to bakery-quality results right in your own kitchen.
Written by Sarah Jenkins
Home budgeting and frugal living
A former community organizer, Sarah brings a knack for finding resourceful solutions to common household challenges.
You Might Also Like

Why Your DIY Furniture Makeover Chips and Peels (And How to Get a Lasting, Pro Finish)
Stop chipping and peeling! Discover the overlooked mistakes in DIY furniture makeovers and pro techniques for a durable, flawless finish that lasts.

Why Your Homemade Cookies Are Flat, Not Puffy (And The Pro Secrets That Guarantee Bakery-Perfect Results Every Time)
Ever wonder why your homemade cookies spread flat instead of staying puffy? Discover the pro secrets to achieve bakery-perfect results.
Why Your Homemade Cookies Are Flat, Not Puffy (And The Pro Secrets That Guarantee Bakery-Perfect Results Every Time)
Tired of flat cookies? Discover the overlooked mistakes in your baking and the pro secrets for perfectly puffy, chewy cookies every time.