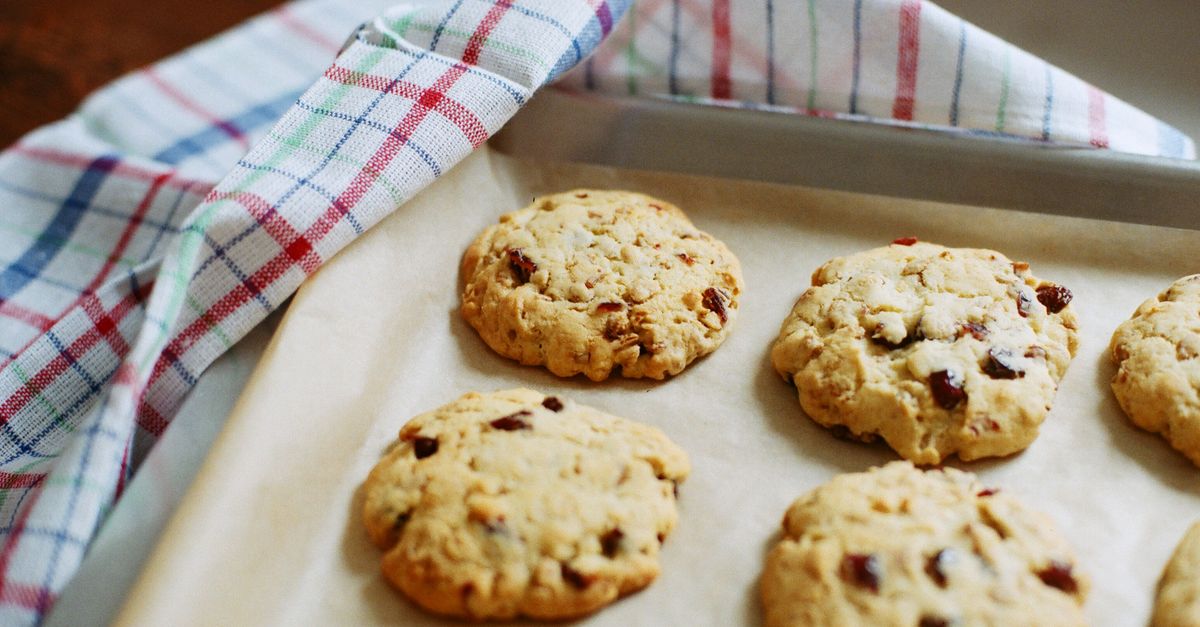
Why Your Homemade Cookies Are Crispy, Not Chewy (And The Simple Fixes That Guarantee Soft Perfection Every Time)
Are you tired of biting into what you hoped would be a soft, yielding cookie, only to discover a brittle, crispy disc? I’ve been there countless times. For years, my baking adventures were plagued by cookies that stubbornly refused to achieve that coveted chewy texture. I’d follow recipes to the letter, use quality ingredients, and still, my chocolate chip cookies crunched rather than bent. It was frustrating, and honestly, a little disheartening.
I used to think it was just my oven, or perhaps a secret ingredient only professional bakers knew. But after countless batches, endless experimentation, and a deep dive into the science of baking, I discovered that the culprits are often far simpler and more counter-intuitive than you’d imagine. It’s not about magic; it’s about understanding a few fundamental principles that most home bakers overlook. What changed everything for me wasn’t a new recipe, but a deeper understanding of how ingredients interact and how small adjustments can lead to dramatically different results. Now, my cookies consistently turn out soft, chewy, and exactly how they should be. Let’s unlock those secrets for you.
Key Takeaways
- Too much flour or not enough fat are common culprits behind crispy cookies, requiring careful measurement and ingredient balance.
- The type of sugar and its ratio significantly impact texture; brown sugar adds moisture and chewiness, while white sugar promotes crispness.
- Over-baking is the quickest way to dry out cookies, so pull them when edges are set but centers still look slightly underdone.
- Dough temperature, resting, and even the cooling process play crucial roles in achieving a perfectly chewy cookie.
The Flour Factor: More Isn’t Always Better
When I first started baking, I treated flour like a universal binder – the more, the better, right? Wrong. The mistake I see most often, and one I certainly made myself, is adding too much flour. It seems innocent enough. Maybe the dough looks a little sticky, so you toss in an extra tablespoon. Or perhaps you’re scooping flour directly from the bag, compacting it without realizing. Both are surefire ways to increase the protein content and reduce moisture, leading directly to a drier, crispier cookie.
Think of it this way: flour absorbs moisture. The more flour you add, the less free moisture there is in your dough. This moisture is essential for creating steam during baking, which helps the cookies puff up initially before setting. Without enough moisture, your cookies flatten out quickly and bake faster, resulting in that undesirable crispy texture. In my experience, even half an ounce of extra flour in a standard cookie recipe (which is about 1-2 tablespoons) can completely alter the outcome from chewy to crunchy.
To combat this, precision is paramount. Invest in a kitchen scale. This was a game-changer for me. Measuring flour by weight (grams or ounces) instead of volume (cups) eliminates the variability of how densely you pack the flour. Most recipes will list flour in cups, but a quick search can give you the gram equivalent. For all-purpose flour, 1 cup typically weighs around 120-125 grams. If a scale isn’t an option, use the spoon and level method: spoon flour lightly into your measuring cup until it overflows, then level it off with a straight edge (like the back of a knife). Never scoop directly with the cup.
Furthermore, consider the type of flour. While all-purpose flour is standard, some bakers prefer a blend of cake flour (lower protein) and all-purpose for a softer crumb, especially in cakes. For chewy cookies, stick to all-purpose, but ensure it’s measured correctly. The goal is to have just enough flour to give structure, but not so much that it chokes out the moisture.
The Sugar Science: Brown Sugar is Your Chewy Secret Weapon
Another revelation that transformed my cookies was understanding the role of sugar, particularly the difference between granulated (white) sugar and brown sugar. Initially, I’d just use whatever sugar was most abundant in my pantry, not realizing the profound impact it had on texture. The mistake is assuming all sugars are interchangeable or that their primary function is just sweetness.
White granulated sugar contributes to spread and crispness. It has smaller crystals that melt quickly, allowing cookies to spread out and become thin. When it cools, it re-crystallizes, giving that distinct snap. Brown sugar, on the other hand, is granulated sugar with molasses added. That molasses is a game-changer for chewiness. It’s hygroscopic, meaning it attracts and holds onto moisture. This inherent moisture keeps the cookies soft and chewy even after cooling.
In my experience, simply swapping a portion of white sugar for brown sugar can dramatically improve chewiness. Many classic chewy cookie recipes call for a higher ratio of brown sugar to white sugar for this very reason. For example, if a recipe originally calls for 1 cup of white sugar, try using 1/2 cup brown sugar and 1/2 cup white sugar, or even 3/4 cup brown and 1/4 cup white for maximum chewiness. The molasses not only adds moisture but also a deeper, richer flavor that complements most cookie profiles.
Additionally, the amount of sugar matters. Too little sugar can result in a tougher, less tender cookie, as sugar also acts as a tenderizer, interfering with gluten formation. Too much sugar, especially white sugar, can lead to excessive spreading and a very thin, crispy cookie. The ideal balance creates a cookie that spreads just enough, with a tender interior. Don’t be afraid to experiment with the brown-to-white sugar ratio in your favorite recipes. It’s a simple swap that yields incredible results.
The Over-Baking Blunder: Timing is Everything
This is perhaps the most common and easily avoidable mistake: over-baking. I used to pull my cookies out of the oven only when they looked perfectly golden brown and firm. What I didn’t realize was that by that point, they were already past their prime for chewiness. The mistake is waiting for visual cues that are more suited for a crisp cookie, rather than a soft one.
Cookies continue to bake for a few minutes after they’re removed from the oven due to residual heat, a process known as carryover cooking. If you wait until they look completely done in the oven, they will inevitably be dry and crispy once cooled. My rule of thumb, which changed my cookie game forever, is to pull them when the edges are just set and lightly golden, but the centers still look slightly soft, puffy, and even a tiny bit underdone. They might even look a little raw in the very center, but trust the process.
For a standard batch of cookies (e.g., chocolate chip), this typically means reducing the baking time by 1-2 minutes from what the recipe suggests, or going by visual cues rather than strict time. If a recipe says 10-12 minutes, I’ll start checking at 8 minutes. Often, 9-10 minutes is the sweet spot for a chewy texture. Another critical step is to let them cool on the baking sheet for 5-10 minutes before transferring them to a wire rack. This allows them to finish setting up without over-baking, solidifying their structure while retaining internal moisture. Transferring them too soon can cause them to fall apart.
Furthermore, ensure your oven temperature is accurate. An oven running too hot can trick you into thinking your cookies are done quickly, only to reveal a dried-out interior. An oven thermometer is a cheap investment that pays dividends. Consistent oven temperature ensures consistent results, allowing you to fine-tune your baking time with confidence.
Butter Brilliance: The Role of Fat in Texture
Fat is a major contributor to a cookie’s texture, and the type and temperature of your butter can make a significant difference. The mistake I used to make was just using butter straight from the fridge if I was in a hurry, or not understanding that ‘softened’ butter isn’t the same as ‘melted’ butter.
Butter, whether solid or liquid, adds richness and tenderness to cookies. It coats the flour proteins, limiting gluten development and resulting in a softer bite. For chewy cookies, the key is usually softened, room-temperature butter, not melted butter. Softened butter (still cool to the touch, but easily indented with a finger) creates air pockets when creamed with sugar. These air pockets are essential for leavening and contribute to a softer, chewier texture. Melted butter, on the other hand, yields a denser, flatter, and often crispier cookie because it doesn’t incorporate as much air.
In my kitchen, I now aim for butter that’s been out of the fridge for about 30-60 minutes, depending on the ambient temperature. It should be pliable but not greasy. If it’s too soft, the cookie will spread excessively. If it’s too cold, it won’t cream properly, leading to a denser cookie. Some recipes specifically call for melted butter, especially if a thinner, crispier cookie is desired, but for chewiness, softened butter is generally the way to go.
Also, consider the fat content. Using high-quality butter can make a difference. European-style butters typically have a higher fat content and lower water content than American-style butters, which can contribute to a richer flavor and a slightly different texture. While not essential, it’s a nuance that can elevate your baking.
The Dough Whisperer: Chilling, Resting, and Cooling
Finally, beyond the ingredients and baking time, how you handle the cookie dough before and after baking is crucial for achieving that ultimate chewiness. These are the often-skipped steps that can elevate a good cookie to a great one. The mistake is rushing the process or not realizing the subtle chemical and physical changes happening at each stage.
Chilling the Dough: This is a non-negotiable step for many of my favorite chewy cookie recipes. Chilling the dough for at least 30 minutes, or even overnight, does several things. First, it solidifies the fat, which prevents excessive spreading in the oven, leading to a thicker cookie. Thicker cookies retain moisture better and are inherently chewier. Second, it allows the flour to fully hydrate, resulting in a more uniform and tender crumb. Third, the flavors meld and deepen. In my experience, a chilled dough produces cookies with a noticeably better texture and more complex flavor.
Room Temperature and Resting: Ensure your dough balls are at a consistent temperature when they go into the oven. If your dough is too cold, the bake time will be off. If you’re using scooped dough, let it sit at room temperature for 10-15 minutes while your oven preheats if it’s been chilled overnight. After baking, as mentioned, let the cookies rest on the baking sheet for 5-10 minutes. This is critical. The residual heat finishes the baking gently, and as they cool slightly, their structure sets. If you move them too soon, they might crumble or flatten.
Cooling Completely: Once transferred to a wire rack, let your cookies cool completely. Storing warm cookies in an airtight container can trap steam, making them soggy rather than chewy. Once they are fully cool, then transfer them. To maintain chewiness, store them in an airtight container at room temperature. If they start to dry out after a day or two, try placing a slice of bread in the container with them overnight; the bread’s moisture will transfer to the cookies, rehydrating them slightly. This trick has saved many a batch for me!
By paying attention to these seemingly small details – precise flour measurement, the right sugar balance, careful baking times, proper butter handling, and patient dough management – you’ll consistently bake cookies that are wonderfully soft and chewy, satisfying that craving every single time.
Frequently Asked Questions
Q1: Can I use all white sugar if I don’t have brown sugar but still want chewy cookies?
A1: While brown sugar is the ultimate chewy secret weapon, you can still achieve some chewiness with all white sugar by reducing the flour slightly (ensuring careful measurement by weight) and slightly under-baking your cookies. Also, adding an extra egg yolk to your recipe can boost chewiness. However, for true chewy perfection, a combination of brown and white sugar is highly recommended.
Q2: My cookies always spread too much and end up thin and crispy. What’s causing this?
A2: Excessive spreading is often due to butter that’s too soft (or melted), too much sugar (especially white sugar), or not chilling the dough sufficiently. Ensure your butter is softened but still cool, measure all ingredients accurately, and always chill your dough for at least 30 minutes before baking. A slightly higher flour-to-fat ratio (if measured precisely) can also help maintain shape.
Q3: What’s the ideal internal temperature for a chewy cookie when it comes out of the oven?
A3: While a meat thermometer isn’t typically used for cookies, if you were to measure, a chewy cookie would likely register around 175-180°F (80-82°C) in the center when pulled from the oven. The key, however, is not to rely on a precise temperature, but rather on visual cues: edges set and lightly golden, centers still appearing soft and slightly underdone.
Q4: My cookies are hard the next day. How can I keep them chewy for longer?
A4: Store your completely cooled cookies in an airtight container at room temperature. To re-introduce moisture and maintain chewiness, place a slice of plain bread (like sandwich bread) in the container with your cookies overnight. The cookies will absorb moisture from the bread, softening them without making them soggy. This trick works wonders!
Q5: Does the type of baking sheet affect chewiness?
A5: Yes, to some extent. Darker baking sheets absorb more heat and can cause cookies to brown faster on the bottom, potentially leading to a crispier edge before the center is cooked through. Lighter, reflective aluminum baking sheets provide a more even bake. If you have a dark pan, consider reducing your oven temperature by 25°F (about 15°C) or reducing the bake time slightly.
Conclusion
Baking truly chewy cookies, batch after batch, isn’t about luck or a secret family recipe. It’s about understanding the science behind your ingredients and process. By meticulously measuring your flour, leveraging the moisture-rich power of brown sugar, mastering your oven timing, using butter at the right temperature, and respecting the resting and chilling phases, you can transform your baking results. What changed everything for me was realizing that every component plays a specific, vital role. The next time you crave that perfect soft-centered, slightly crisp-edged, wonderfully chewy cookie, you’ll have the knowledge and confidence to make it happen. Go forth and bake the chewy cookies of your dreams – your taste buds will thank you!
Written by Sarah Jenkins
Home budgeting and frugal living
A former community organizer, Sarah brings a knack for finding resourceful solutions to common household challenges.
You Might Also Like

Why Your DIY Furniture Makeover Chips and Peels (And How to Get a Lasting, Pro Finish)
Stop chipping and peeling! Discover the overlooked mistakes in DIY furniture makeovers and pro techniques for a durable, flawless finish that lasts.

Why Your Homemade Cookies Are Flat, Not Puffy (And The Pro Secrets That Guarantee Bakery-Perfect Results Every Time)
Ever wonder why your homemade cookies spread flat instead of staying puffy? Discover the pro secrets to achieve bakery-perfect results.
Why Your Homemade Cookies Are Flat, Not Puffy (And The Pro Secrets That Guarantee Bakery-Perfect Results Every Time)
Tired of flat cookies? Discover the overlooked mistakes in your baking and the pro secrets for perfectly puffy, chewy cookies every time.