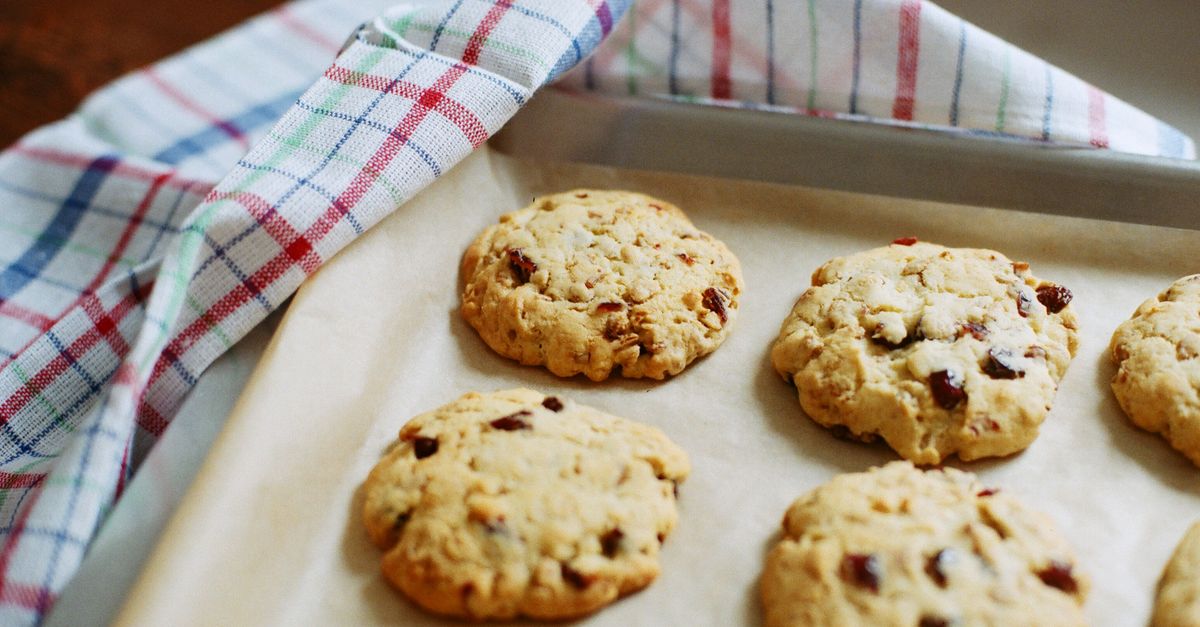
Why Your Homemade Cookies Are Crispy, Not Chewy (And The Simple Fixes That Guarantee Soft Perfection Every Time)
Are you constantly chasing that elusive soft, chewy cookie perfection, only to pull a batch of brittle, crispy discs from the oven? I know the frustration. For years, my cookies were an exercise in disappointment – delicious, yes, but never that melt-in-your-mouth texture I craved. Every recipe promised ‘chewy,’ but my results were consistently ‘crunchy.’ It felt like a conspiracy of butter and flour.
I’ve tried countless recipes, tweaked temperatures, and even blamed my oven. But what I discovered after years of trial and error (and a lot of stale cookies) is that achieving a consistently soft and chewy texture isn’t about some secret ingredient or a mystical baking technique. It’s about understanding a few fundamental chemical reactions and making deliberate, simple adjustments to your ingredients and process. It’s about knowing why your cookies are crispy, and then, more importantly, what to do about it.
In my experience, the biggest mistake most home bakers make isn’t following a bad recipe, but rather inadvertently sabotaging the texture through common habits and misunderstandings. What changed everything for me was realizing that every ingredient and every step plays a role in the final chewiness. Once you master these nuances, you’ll be turning out bakery-quality soft cookies every single time. Let’s dive into the common culprits and the simple, impactful fixes that will transform your cookie game.
Key Takeaways
- Ensure your butter is softened, not melted, and cream it thoroughly with sugar to incorporate air for a softer texture.
- Use a higher ratio of brown sugar to white sugar, or even all brown sugar, for added moisture and chewiness.
- Reduce the amount of flour slightly and avoid overmixing to prevent gluten development, which can lead to tough, crispy cookies.
- Bake your cookies at a slightly lower temperature for a shorter duration, pulling them when the edges are set but the centers still look slightly underdone.
The Butter Dilemma: Softened, Not Melted (And Why It Matters So Much)
Let’s start with butter – the foundation of most delicious cookies. Most recipes simply say ‘softened butter,’ and that’s where the ambiguity often creeps in. A lot of people, myself included for a long time, interpreted ‘softened’ as ‘mostly melted’ or ‘straight from the fridge and microwaved for 30 seconds.’ Big mistake.
The crispy culprit: When butter is too cold, it doesn’t cream properly with the sugar, leading to a denser dough that bakes up hard. When it’s too warm (even slightly melted), the water in the butter separates from the fat, and it can’t hold air effectively. This results in a dough that spreads too much, bakes faster, and becomes uniformly crispy.
Think of creaming butter and sugar like building a delicate scaffold. Softened butter (about 65-68°F or 18-20°C – it should yield slightly to a gentle press but still hold its shape) creates tiny air pockets when beaten with sugar. These air pockets are crucial; they expand in the oven, giving your cookies their lift, and contribute to that tender, cake-like chewiness. If the butter is melted, those air pockets can’t form, and you’re left with a flatter, denser cookie.
The simple fix: Plan ahead! Take your butter out of the fridge at least 1-2 hours before baking. If you’re short on time, cut it into small pieces and let it sit for 20-30 minutes, or gently beat it with a rolling pin. Avoid the microwave unless you know exactly what you’re doing, as even a few seconds too long can be disastrous. The ideal texture is like soft serve ice cream – still firm enough to hold its shape, but easily malleable.
Pro Tip: Once your butter is perfectly softened, cream it with your sugars for a full 2-3 minutes using an electric mixer, scraping down the sides of the bowl frequently. The mixture should be noticeably lighter in color and fluffy. This step alone can dramatically improve your cookie texture.
Sugar’s Sweet Secret: The Power of Brown Sugar for Ultimate Chewiness
Sugar isn’t just for sweetness; it plays a critical role in texture, particularly when it comes to the crispy vs. chewy debate. Most recipes call for a combination of white granulated sugar and brown sugar, but the ratio is key, and understanding why can unlock a whole new world of cookie texture.
The crispy culprit: A higher ratio of white granulated sugar in your dough. Granulated sugar promotes spread and crispness because its crystals don’t hold moisture as effectively and melt quickly, leading to a crisp, glassy texture as it cools. While a little is good for structure and spread, too much tips the scales towards crunch.
Brown sugar’s superpower: The magic ingredient in brown sugar is molasses. Molasses is hygroscopic, meaning it attracts and holds onto moisture. This added moisture keeps your cookies soft and tender long after they’ve cooled. Furthermore, the slightly acidic nature of molasses reacts with baking soda (if present), helping to create a softer, more cake-like crumb. It also contributes to a richer, caramel-like flavor, which is always a bonus.
The simple fix: Adjust your sugar ratio. If a recipe calls for equal parts white and brown sugar, try increasing the brown sugar by 25-50% and decreasing the white sugar by the same amount. For example, if it calls for 1 cup white and 1 cup brown, try 3/4 cup white and 1 1/4 cups brown. For the ultimate chewy cookie, I often swap all the white granulated sugar for brown sugar, reducing the overall sugar amount slightly if I find it too sweet. The results are incredibly moist and chewy.
Before/After Example: My standard chocolate chip cookie recipe used to be 1 cup granulated sugar, 1/2 cup brown sugar. The cookies were okay, but always leaned crispy. After switching to 1/2 cup granulated and 1 cup brown sugar, they transformed into beautifully soft, chewy delights that stayed soft for days. This simple swap made a monumental difference.
The Flour Factor: Don’t Overmix and Know Your Limits
Flour provides the structure for your cookies, but too much flour or too much mixing can quickly turn your soft dreams into crunchy nightmares. This is a common pitfall for even experienced bakers.
The crispy culprit #1: Too much flour. This happens easily, especially if you’re scooping flour directly from the bag with your measuring cup. Scooping compacts the flour, meaning you’re adding significantly more than the recipe intends. Extra flour absorbs more moisture, leading to a dry, dense dough that bakes hard.
The crispy culprit #2: Overmixing the dough. Once you’ve added the flour, gluten development begins. Gluten is what gives bread its chewiness, but in cookies, too much gluten development results in a tough, rubbery, and ultimately crispy texture. You want just enough mixing to combine, not to knead.
The simple fix #1: Measure flour correctly. Always, always, always weigh your flour if you have a kitchen scale. It’s the most accurate method. If you don’t have a scale, use the ‘spoon and level’ method: spoon flour into your measuring cup until it’s overflowing, then use a straight edge (like the back of a knife) to level off the excess. Never pack it down.
The simple fix #2: Mix minimally. Once the flour is added to your wet ingredients, mix just until combined. This means the moment you no longer see streaks of dry flour, stop mixing. Overmixing can happen surprisingly quickly with an electric mixer, so consider finishing the flour incorporation by hand with a spatula for more control.
My experience: I used to dump all the dry ingredients into the wet and let my stand mixer go until it looked uniform. My cookies were always disappointingly firm. When I started spooning and leveling my flour, and then stopping the mixer as soon as the last speck of flour disappeared, the change was immediate. The dough felt softer, and the baked cookies had a much more tender crumb.
The Egg-cellent Edge: Extra Yolk, Extra Chew
Eggs are binding agents in cookies, but their components – yolk and white – have different properties that impact texture. If you’re consistently getting crispy cookies, adjusting your egg ratio might be the secret ingredient you’re missing.
The crispy culprit: Too much egg white. Egg whites contain a lot of protein and moisture. While moisture can sound good, the proteins in egg whites coagulate and firm up more rigidly during baking, contributing to a drier, crisper texture once cooled. They also provide lift, which is great for cakey cookies, but less so for chewy ones.
Egg yolks’ secret weapon: Egg yolks are rich in fat and lecithin, an emulsifier. The fat adds richness and tenderness, while lecithin helps to create a smooth, well-integrated dough. The fat content in the yolk is what contributes to that desirable chewy, almost fudgy texture in a cookie.
The simple fix: Add an extra egg yolk to your recipe. If a recipe calls for one whole egg, try one whole egg plus one additional yolk. If it calls for two eggs, try one whole egg and two yolks. This simple swap boosts the fat content without adding too much extra moisture from whites, leading to a richer, softer, and chewier cookie. You might even find it enhances the flavor depth.
A personal anecdote: I once had a chocolate chip cookie recipe that called for two large eggs. They were always good, but on the thinner, crisper side. One day, I was out of eggs and only had one large egg and two yolks left from another recipe. I threw them in, hoping for the best. To my surprise, that batch was the chewiest, most perfectly soft cookies I had ever made! It was an accidental discovery that permanently changed my approach to cookie eggs.
Oven Temperature & Baking Time: The Undercooked Secret
This might be the most counter-intuitive tip, but it’s a game-changer for chewy cookies. Most home bakers (and many recipes, frankly) tend to overbake their cookies, ensuring they look perfectly golden and firm on the outside. This is a direct path to crispiness.
The crispy culprit: Overbaking. When cookies bake too long, all the moisture evaporates, leaving behind a dry, hard, and crispy structure. Even a minute or two extra can be the difference between chewy and crunchy. High oven temperatures can also contribute to this, as they cause the sugars to caramelize too quickly and dry out the cookie’s interior before the edges are properly set.
The chewy secret: Slightly underbaking. For that perfect chew, you want to pull the cookies from the oven when the edges are just set and lightly golden, but the centers still look slightly underdone and glossy. They will continue to bake and set on the hot baking sheet from residual heat, a process known as ‘carryover cooking.’
The simple fix #1: Adjust temperature and time. Many cookie recipes call for 375°F (190°C). Try reducing your oven temperature to 350°F (175°C) and then reducing the baking time by 1-2 minutes from the recipe’s minimum. For instance, if a recipe says 10-12 minutes at 375°F, try 8-10 minutes at 350°F.
The simple fix #2: Watch the edges, not the clock. Start checking your cookies at the absolute minimum baking time listed in your adjusted temperature. Look for edges that are firm and just barely turning golden. The centers should still look soft, maybe even a little wet. Don’t worry, they’ll firm up as they cool. When you gently touch the center, it should still feel a little soft or jiggly.
My breakthrough moment: I used to bake my cookies until they were deeply golden all over. Then I saw a chef on TV pull cookies that looked almost undone. I tried it, and the first batch was still a little too gooey. But with a slight adjustment, finding that sweet spot where the edges were set but the middle was still soft, my cookies went from crispy to perfectly chewy. It felt wrong to pull them so early, but the results spoke for themselves.
Don’t Forget the Chill: A Mandatory Step for Texture Control
Chilling your cookie dough isn’t just about preventing spread; it’s a critical step for developing flavor and, crucially, for achieving that ideal chewy texture.
The crispy culprit: Baking warm, unchilled dough. When dough is warm, the butter melts almost immediately upon hitting the hot baking sheet. This causes the cookies to spread rapidly and thinly, leading to a crispy, uniform texture rather than a soft, chewy one. The rapid melting also means less time for the cookie’s structure to set, again, resulting in a flatter, crispier cookie.
The chilling advantage: Chilling the dough solidifies the butter, making it melt slower in the oven. This slower melt gives the cookie’s structure more time to set before it spreads too much, resulting in thicker cookies. The colder, firmer dough also means less spreading, keeping the cookie’s body intact for a chewier bite. Additionally, chilling allows the flour to fully hydrate and the flavors to meld, leading to a more complex and satisfying taste.
The simple fix: Chill your dough for a minimum of 30 minutes, but ideally 2-24 hours. Longer chilling times (up to 72 hours) often yield even better results in terms of both flavor and texture. After mixing, cover your bowl with plastic wrap and pop it in the fridge. If you’re going for a really long chill, consider portioning out the dough balls first and then chilling them on a plate or baking sheet. This makes them ready to go straight into the oven.
My personal ritual: I now make my cookie dough the night before I plan to bake. A minimum 12-hour chill has become non-negotiable for me. The difference is stark: unchilled dough yields flat, crispy cookies, while chilled dough produces thicker, chewier, and more flavorful cookies every single time. It’s a small step that requires foresight, but the payoff is huge.
Frequently Asked Questions
Q1: Can I make crispy cookies chewy after baking?
No, unfortunately, once a cookie has baked and cooled to a crispy texture, you can’t truly revert it to a chewy state. The chemical changes that occur during baking, primarily the evaporation of moisture and sugar caramelization, are irreversible. You can try to slightly soften them by placing them in an airtight container with a slice of bread or an apple wedge overnight, but they will never achieve the true chewy texture of a properly baked cookie.
Q2: Why are my cookies still crispy even after following all the tips?
If you’ve tried all the tips (softened butter, brown sugar, minimal mixing, lower temperature, chilling), and your cookies are still crispy, double-check your oven temperature with an oven thermometer. Many home ovens run hotter or colder than their display indicates, which can lead to overbaking even at a set temperature. Also, ensure your baking sheets aren’t too thin or dark, as these can conduct heat too aggressively and cause quick crisping.
Q3: Does the type of flour affect chewiness?
Yes, it can. All-purpose flour is standard, but some bakers find that a very slight reduction of all-purpose flour (by a tablespoon or two) or even a mix with a bit of cake flour (which has a lower protein content) can contribute to a more tender crumb. However, for most home bakers, focusing on proper measurement and minimal mixing with standard all-purpose flour will yield significant improvements.
Q4: How does baking soda vs. baking powder affect texture?
Baking soda (sodium bicarbonate) needs an acid to activate, producing carbon dioxide gas quickly, which helps cookies spread and become slightly chewier, often in combination with brown sugar’s molasses. Baking powder, which contains both an acid and a base, reacts twice (once when wet, once when heated), contributing more to lift and a cakeier, lighter texture. For chewy cookies, recipes often lean more on baking soda and brown sugar to get the desired spread and chew.
Q5: Should I let the cookies cool on the baking sheet or a wire rack?
For chewy cookies, it’s best to let them cool on the baking sheet for 5-10 minutes before transferring them to a wire rack. This allows for carryover cooking, which helps the centers set without drying out the entire cookie. If you immediately transfer them to a rack, they cool too quickly and can lose some of that internal moisture, potentially making them firmer.
Conclusion
Transforming your homemade cookies from crispy disappointments to perfectly soft, chewy delights is entirely within your reach. It’s not about magic, but about precision and understanding. By mastering the nuances of your butter’s temperature, harnessing the power of brown sugar, treating your flour with respect, perhaps adding an extra yolk, and being brave enough to slightly underbake, you’ll unlock the secrets to truly irresistible cookies.
My journey from consistently crunchy to perfectly chewy was born out of persistent trial and error, and the insights shared here are the culmination of those lessons. Don’t be afraid to experiment with these tips in your favorite recipes. Start with one or two changes, like adjusting your butter creaming or sugar ratio, and notice the difference. You’ll soon develop an intuitive feel for what your dough needs. The next time you crave a soft, decadent cookie, you’ll know exactly how to achieve it. Happy baking!
Written by Sarah Jenkins
Home budgeting and frugal living
A former community organizer, Sarah brings a knack for finding resourceful solutions to common household challenges.
You Might Also Like

Why Your DIY Furniture Makeover Chips and Peels (And How to Get a Lasting, Pro Finish)
Stop chipping and peeling! Discover the overlooked mistakes in DIY furniture makeovers and pro techniques for a durable, flawless finish that lasts.

Why Your Homemade Cookies Are Flat, Not Puffy (And The Pro Secrets That Guarantee Bakery-Perfect Results Every Time)
Ever wonder why your homemade cookies spread flat instead of staying puffy? Discover the pro secrets to achieve bakery-perfect results.
Why Your Homemade Cookies Are Flat, Not Puffy (And The Pro Secrets That Guarantee Bakery-Perfect Results Every Time)
Tired of flat cookies? Discover the overlooked mistakes in your baking and the pro secrets for perfectly puffy, chewy cookies every time.